
The Kodak Retina Reflex S is not only the first 35mm SLR in the collection but also a camera with a very high personal value for me. While the Polaroid 3000 was the first camera I owned, the first camera I ever made a photo with (and the camera which made the first pictures of me) was my father’s Kodak Retina Reflex S. I remember we took it to every holiday until it was “replaced” later by a smaller and lighter Minox 35 ML (which we bought instead of a Pentax auto 110 super). As I remember, my father used only the lower part of the “ever ready case” to carry the camera around, so it has some “patina”: scratches, bumps and some of the painting comes off too. Beside of this, the camera is in a great condition. Sadly the original ƒ:4/135 telephoto lens was badly scratched (however the pictures taken with it were sharper than all I took with any other of my cameras), so I recently replaced it with a “new” one. It is told that the camera is a slightly over-engineered and therefore horrible to repair, so I give my best to preserve it for the next generations. But of course by using it and not by leaving on the shelf.
All I know about the Kodak Retina Reflex S:
Kodak, best known for their films, bought in 1931 the Dr. August Nagel Kamerawerk in Stuttgart and produced there affordable 35 mm cameras. The first Kodak Retina, a foldable viewfinder was introduced in 1934. Interesting fact: the 135 daylight-loading single-use cassette, which is now used in every 35 mm camera, was designed for this camera. In 1936, the Retina I and the Retina II, a foldable rangefinder were introduced. After WWII, the production continued with the Retina Ia and II, slightly modernized versions of the prewar models. In 1957, the first SLR, the Retina Reflex appeared. Basically it was a rangefinder camera equipped with a mirror and a prism, but still with a central shutter and the rear lenses built in the body. In 1959 the first KODAK SLR with fully interchangeable lenses was finally ready: the Kodak Retina Reflex S. Kodak continued to build rangefinders like the foldable Retina IIIc, the first camera with a built-in light meter or the Retina IIIS which uses the same lenses as the Retina Reflex (yes, this means I plan to buy one in the future). The Retina Reflex S was followed in 1961 by the Retina Reflex III and the Reflex IV in 1964 until Kodak ended the production of 35 mm SLR in 1966.
Like the other famous “product” from Stuttgart with an “S” in the name the camera is extremely well-built and quite heavy. I love the little details, like the hidden button on the bottom plate to open the camera, which prevents accidental opening of the back. After ripping one cheap film with my Yashica Electro 35 GT once, I also like the back-counting film counter, which also locks the advance lever when the film is full. However, the little button to operate it can be easily mixed up with the shutter release, like on the Smena. The advance lever at the bottom of the camera is a bit unusual, but I got used to it (my Zorki 10 has it at the same position). The camera has a cold shoe and a PC terminal for a flash, a built-in coupled selenium meter, self-timer, a tripod mount and of course a cable release connector.
Lenses for the Retinas were produced by Rodenstock and Schneider Kreuznach, and over 15 different lenses were available. I have four Schneider Kreuznach lenses (until now), the ƒ:4/28 wide angle, the standard ƒ:2.8/50, the faster ƒ1.9/50 lens (which raised the price from 578,- DM to 680,- DM !) and a ƒ4:135 telephoto lens. For the 50 mm lens, I bought three close up lenses, one green filter and a screw in lens hood. The original lens hoods are made of plastic, are square and are connected to the lens via a bayonet mount.
Although quite heavy, the Retina is a quite small SLR by today’s standards, and a very quiet one too.
How to use the Kodak Retina Reflex S
Open the camera with the hidden button under the tripod mount. Load your film. Set the film speed by simultaneously pressing the little button on the DIN/ASA indicator on the top of the camera and turning the “setting wheel” under the lens. Now set the film counter to the little ♦ next to the correct number of exposures (24 / 36), rewind and release 2 times and you are ready to go.
The so-called “setting wheel” main purpose is to set the desired ƒ stop, while the shutter speed is selected by turning the ring next to the base of the lens. As you will notice, changing the speed also changes the aperture, which is very confusing in the beginning. The reason for this was the idea to make the camera easier to operate… Close to the DIN/ASA setting wheel, you will find the exposure meter. With the setting wheel, you set the camera to the right exposure value for the current light situation. The defined aperture/speed setting will then change in that way, that this EV is kept, so if you set the camera to 1/125 and ƒ 8 and you change the speed to 1/250, the camera (should) changes the ƒ stop to 4. Unusual, but functional. Another nice feature: the current depth of field is indicated by little pointers on top of the lens.
To focus you may use the ground glass screen as well as the split-screen rangefinder in middle. After you shoot, the finder will stay black until you use the advance lever under the camera. Film speeds are from 24 to 3200, the ƒ stops (depending on the lens) from 1.9 till 22 and the shutter speed ranges from B, 1s to 1/500 s. For longtime exposure, you can use the green scale to remember the long times better, the camera operates there in “B” mode.
To activate the self-timer, press the little button on the right side of the lens while moving the little lever to the “V” position. This lever is also used to change the flash settings to “X” for electronic and “M” for old flashbulbs. Flash can be used at any speed, you just need a PC sync cable. After 36 exposures, the camera blocks to avoid you pull put the film out of the cassette, If you believe this is too early, just press the button on top, change the number of exposures and continue carefully. Next to or rather embedded in the advance lever is the button to release the rewind knob which can also be used for double exposures (which is also mentioned in the manual). In back light situations, you can cover the light meter and measure directly from the object. As this cover was sadly lost, I just use one stop slower as the light meter reads.
For close-ups, screw on one or more of the available close-up lenses. If you use filters, you have to compensate less light manually, as the camera obviously does not measure through the lens (TTL).


| Brand | Kodak |
| Camera | Kodak Retina Reflex S |
| Year built | ?, built from 1959 to 1960 |
| Serial number | 84322 |
| Lens | Schneider – Kreuznach Retina-Curtagon 1:4 / 28 mm 9926853 Schneider – Kreuznach Retina-Xenar 1:2.8 / 50 mm 7662634 Schneider – Kreuznach Retina-Tele-Xenar 1:4 / 135 mm 6966490 & 7547543 |
| Shutter | Synchro-Compur |
| Film format | 35 mm |
| Special features | SLR with central shutter |
| Accessories | Case, UV & green filter, (non original)lens hood, N1, N2 and R close-up lens |
| Manufactured by | Kodak AG, Stuttgart, Germany |
| Date of purchase | 1960 |
| Price | 578,- DM |
| Place of purchase | Villingen im Schwarzwald |
Tips & Tricks
First of all: take care of the camera. In all reviews, I found it is mentioned that these cameras are really hard to service or repair. In the worst case, Chris Sherlock does not only have some repair guides on his website http://retinarescue.com/ but also offers repair service for Retina cameras. If your lenses have scratches, try first to take some photos. It might turn out that the scratches are not visible at all in your pictures. I only replaced my scratched 135 mm lens because I found one in the original package for €30. And because I needed a screw to fix the 50 mm lens. Although I was not afraid to do some basic repairs on all my other cameras, I do not dare to fix and maybe break something on this one. But again, this one is really something special for me.
Film purchase & processing
The camera can use any 35 mm film from 10 to 3200 ISO. Try to shoot at least once with 100 ISO black and white to get an impression of the lenses’ sharpness.
Useful Links:
http://kodak.3106.net/download/RetinaReflexS.pdf (Sales folder in German)
http://kodak.3106.net/index.php?p=301&cam=915 (Guide)
http://www.butkus.org/chinon/kodak/reflex_s/retina_reflex_s.html (Manual)
http://knippsen.blogspot.de/2012/04/kodak-retina-reflex-s.html (Review in German with great illustration how the light meter works)
http://retinarescue.com/ (Repair guides and repair service)
http://blog.jimgrey.net/2013/10/18/kodak-retina-reflex-iv/ (review Kodak Retina Reflex IV)
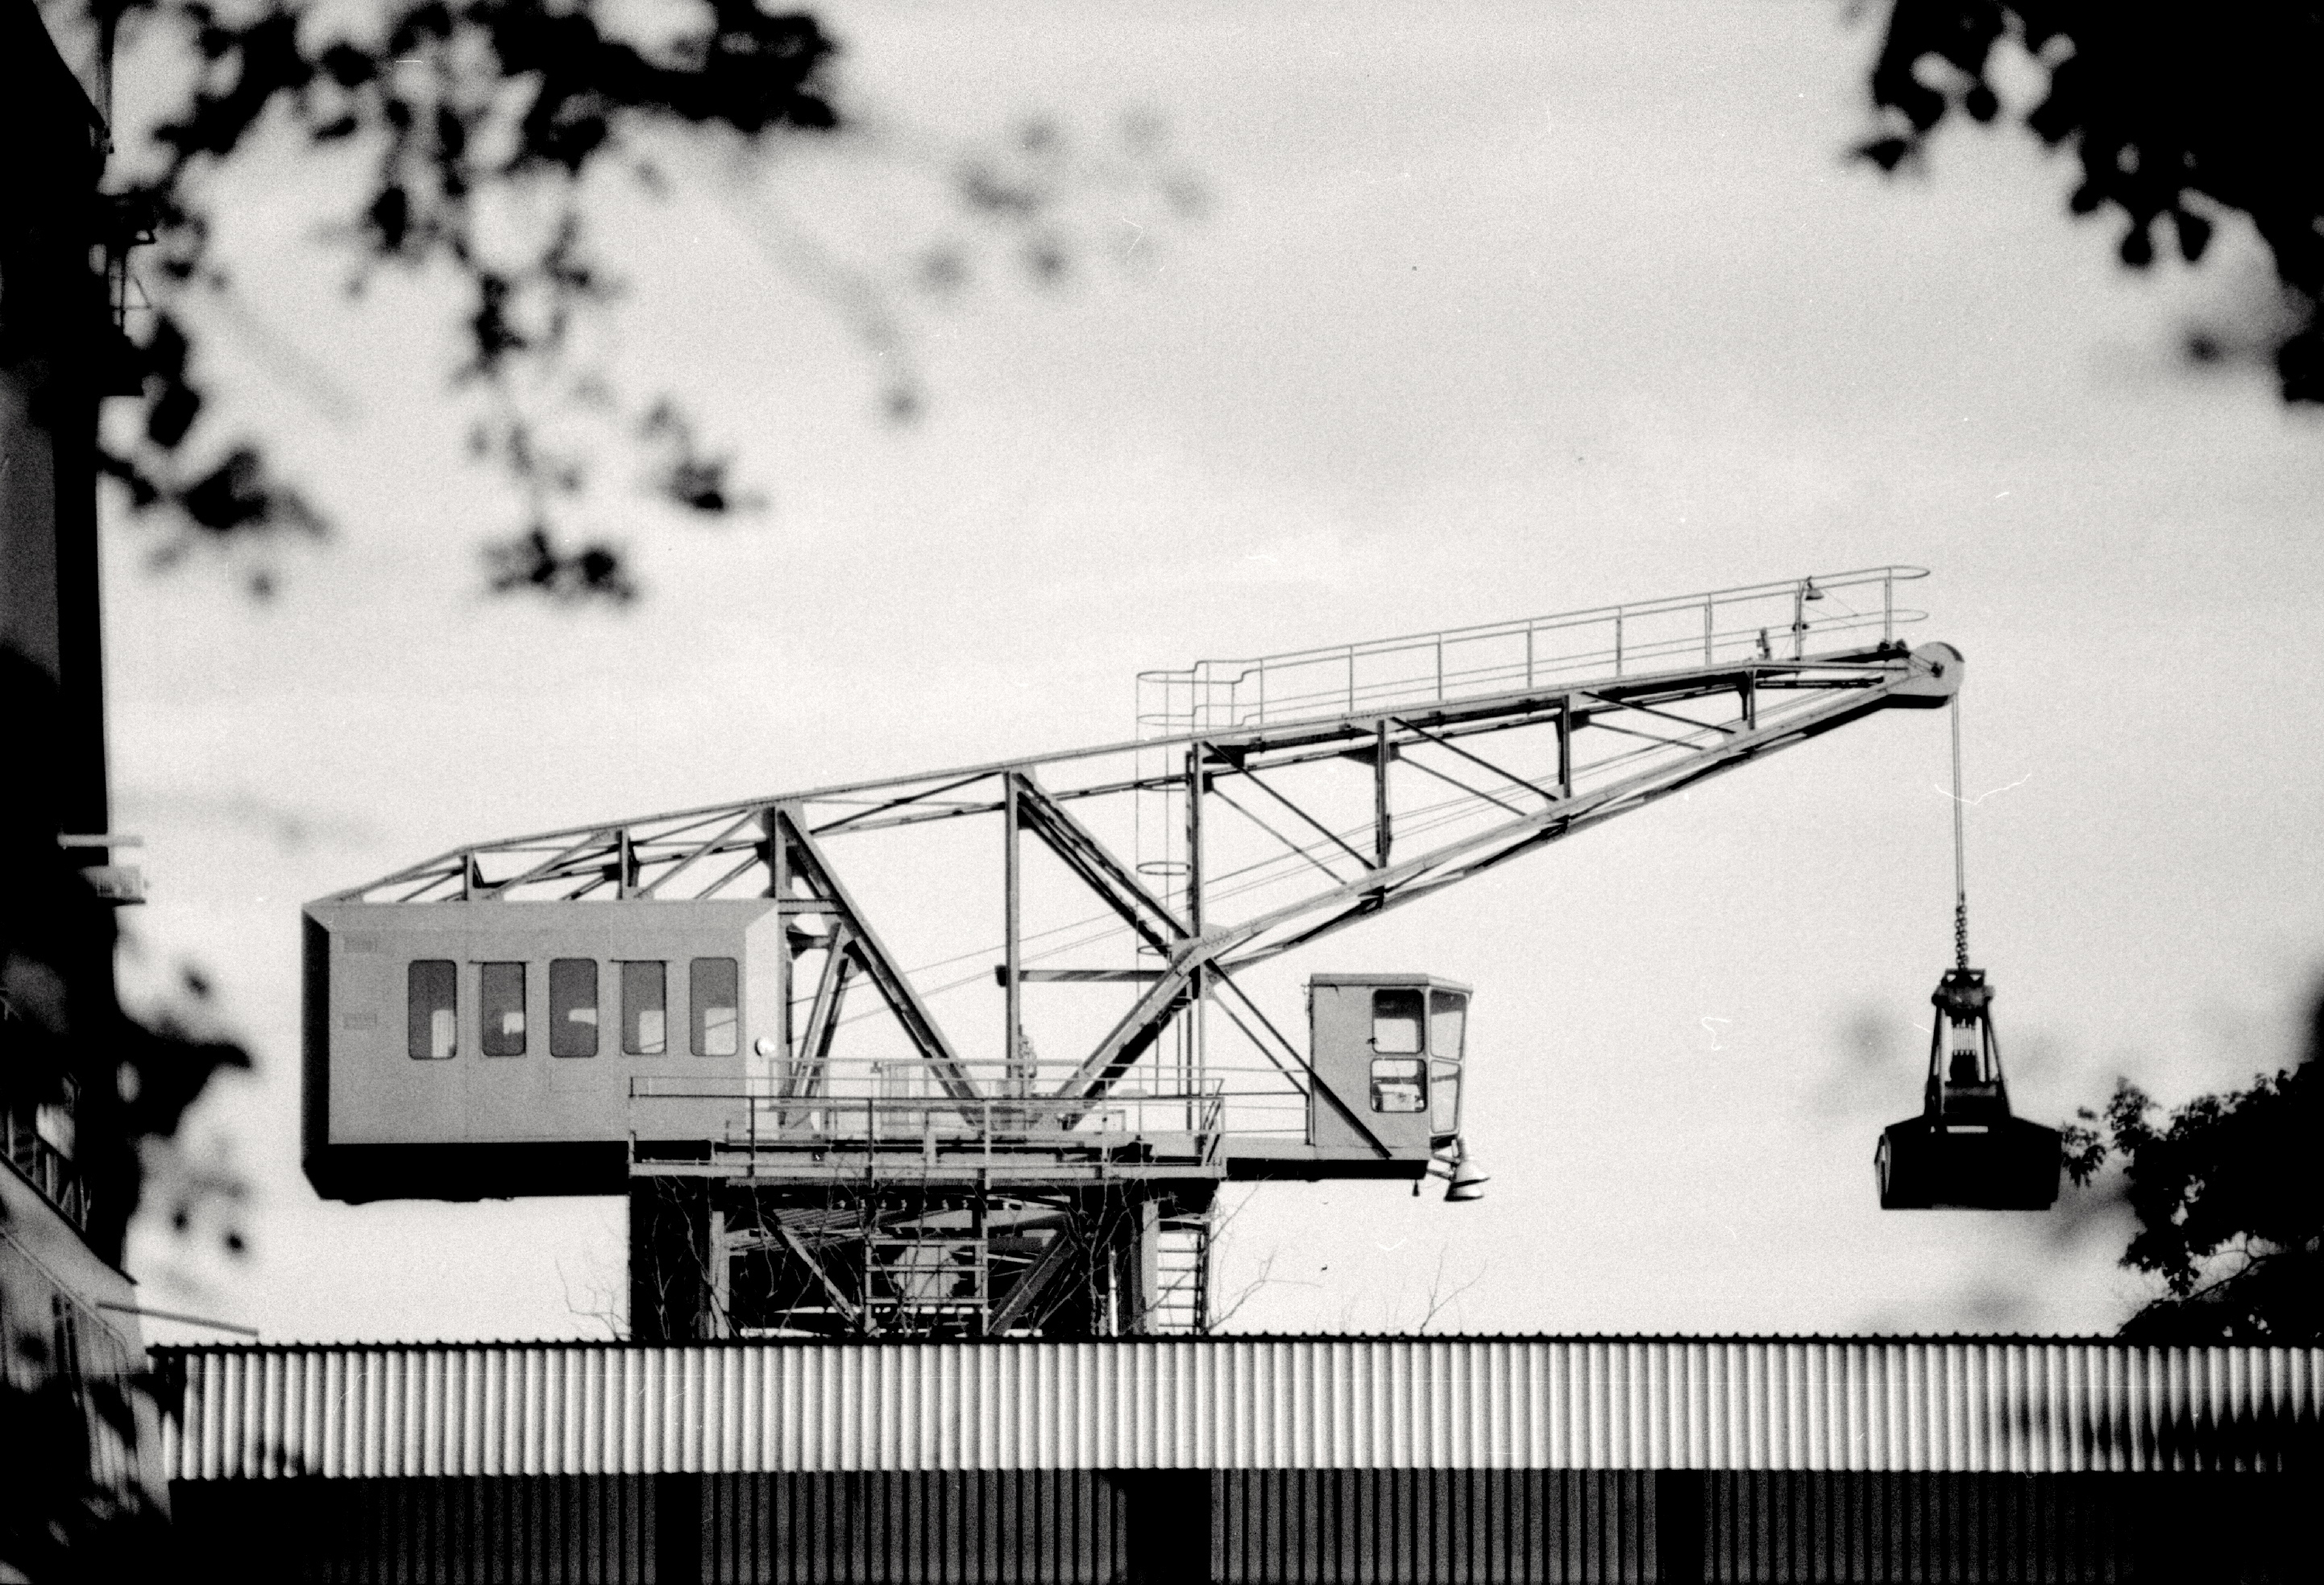
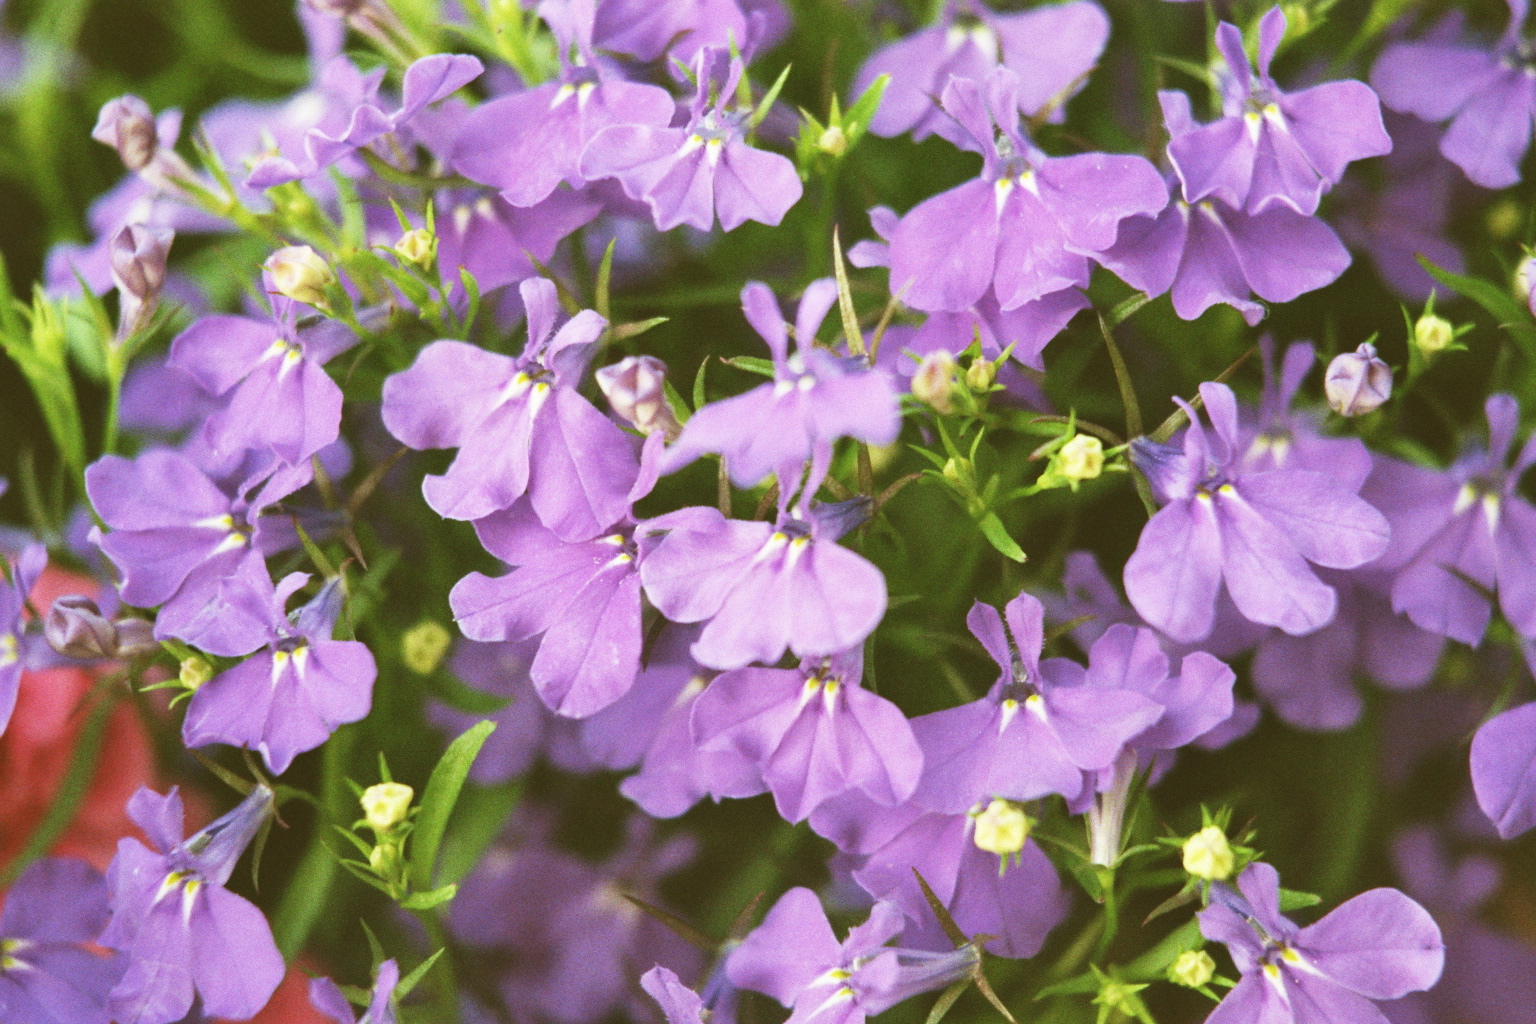
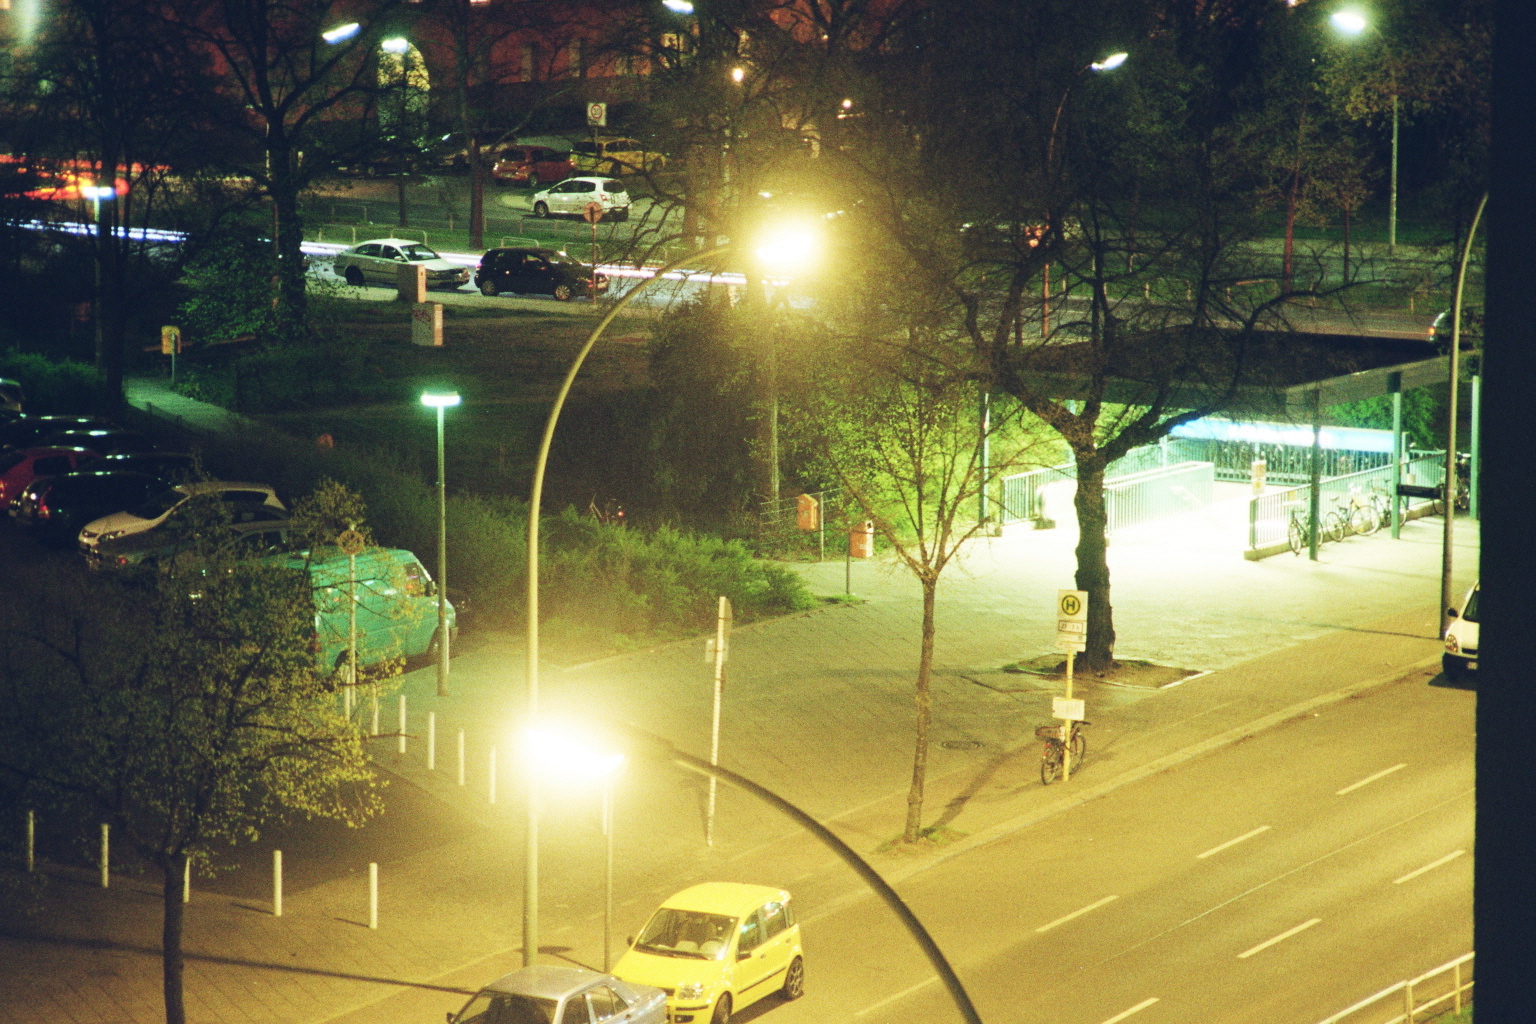
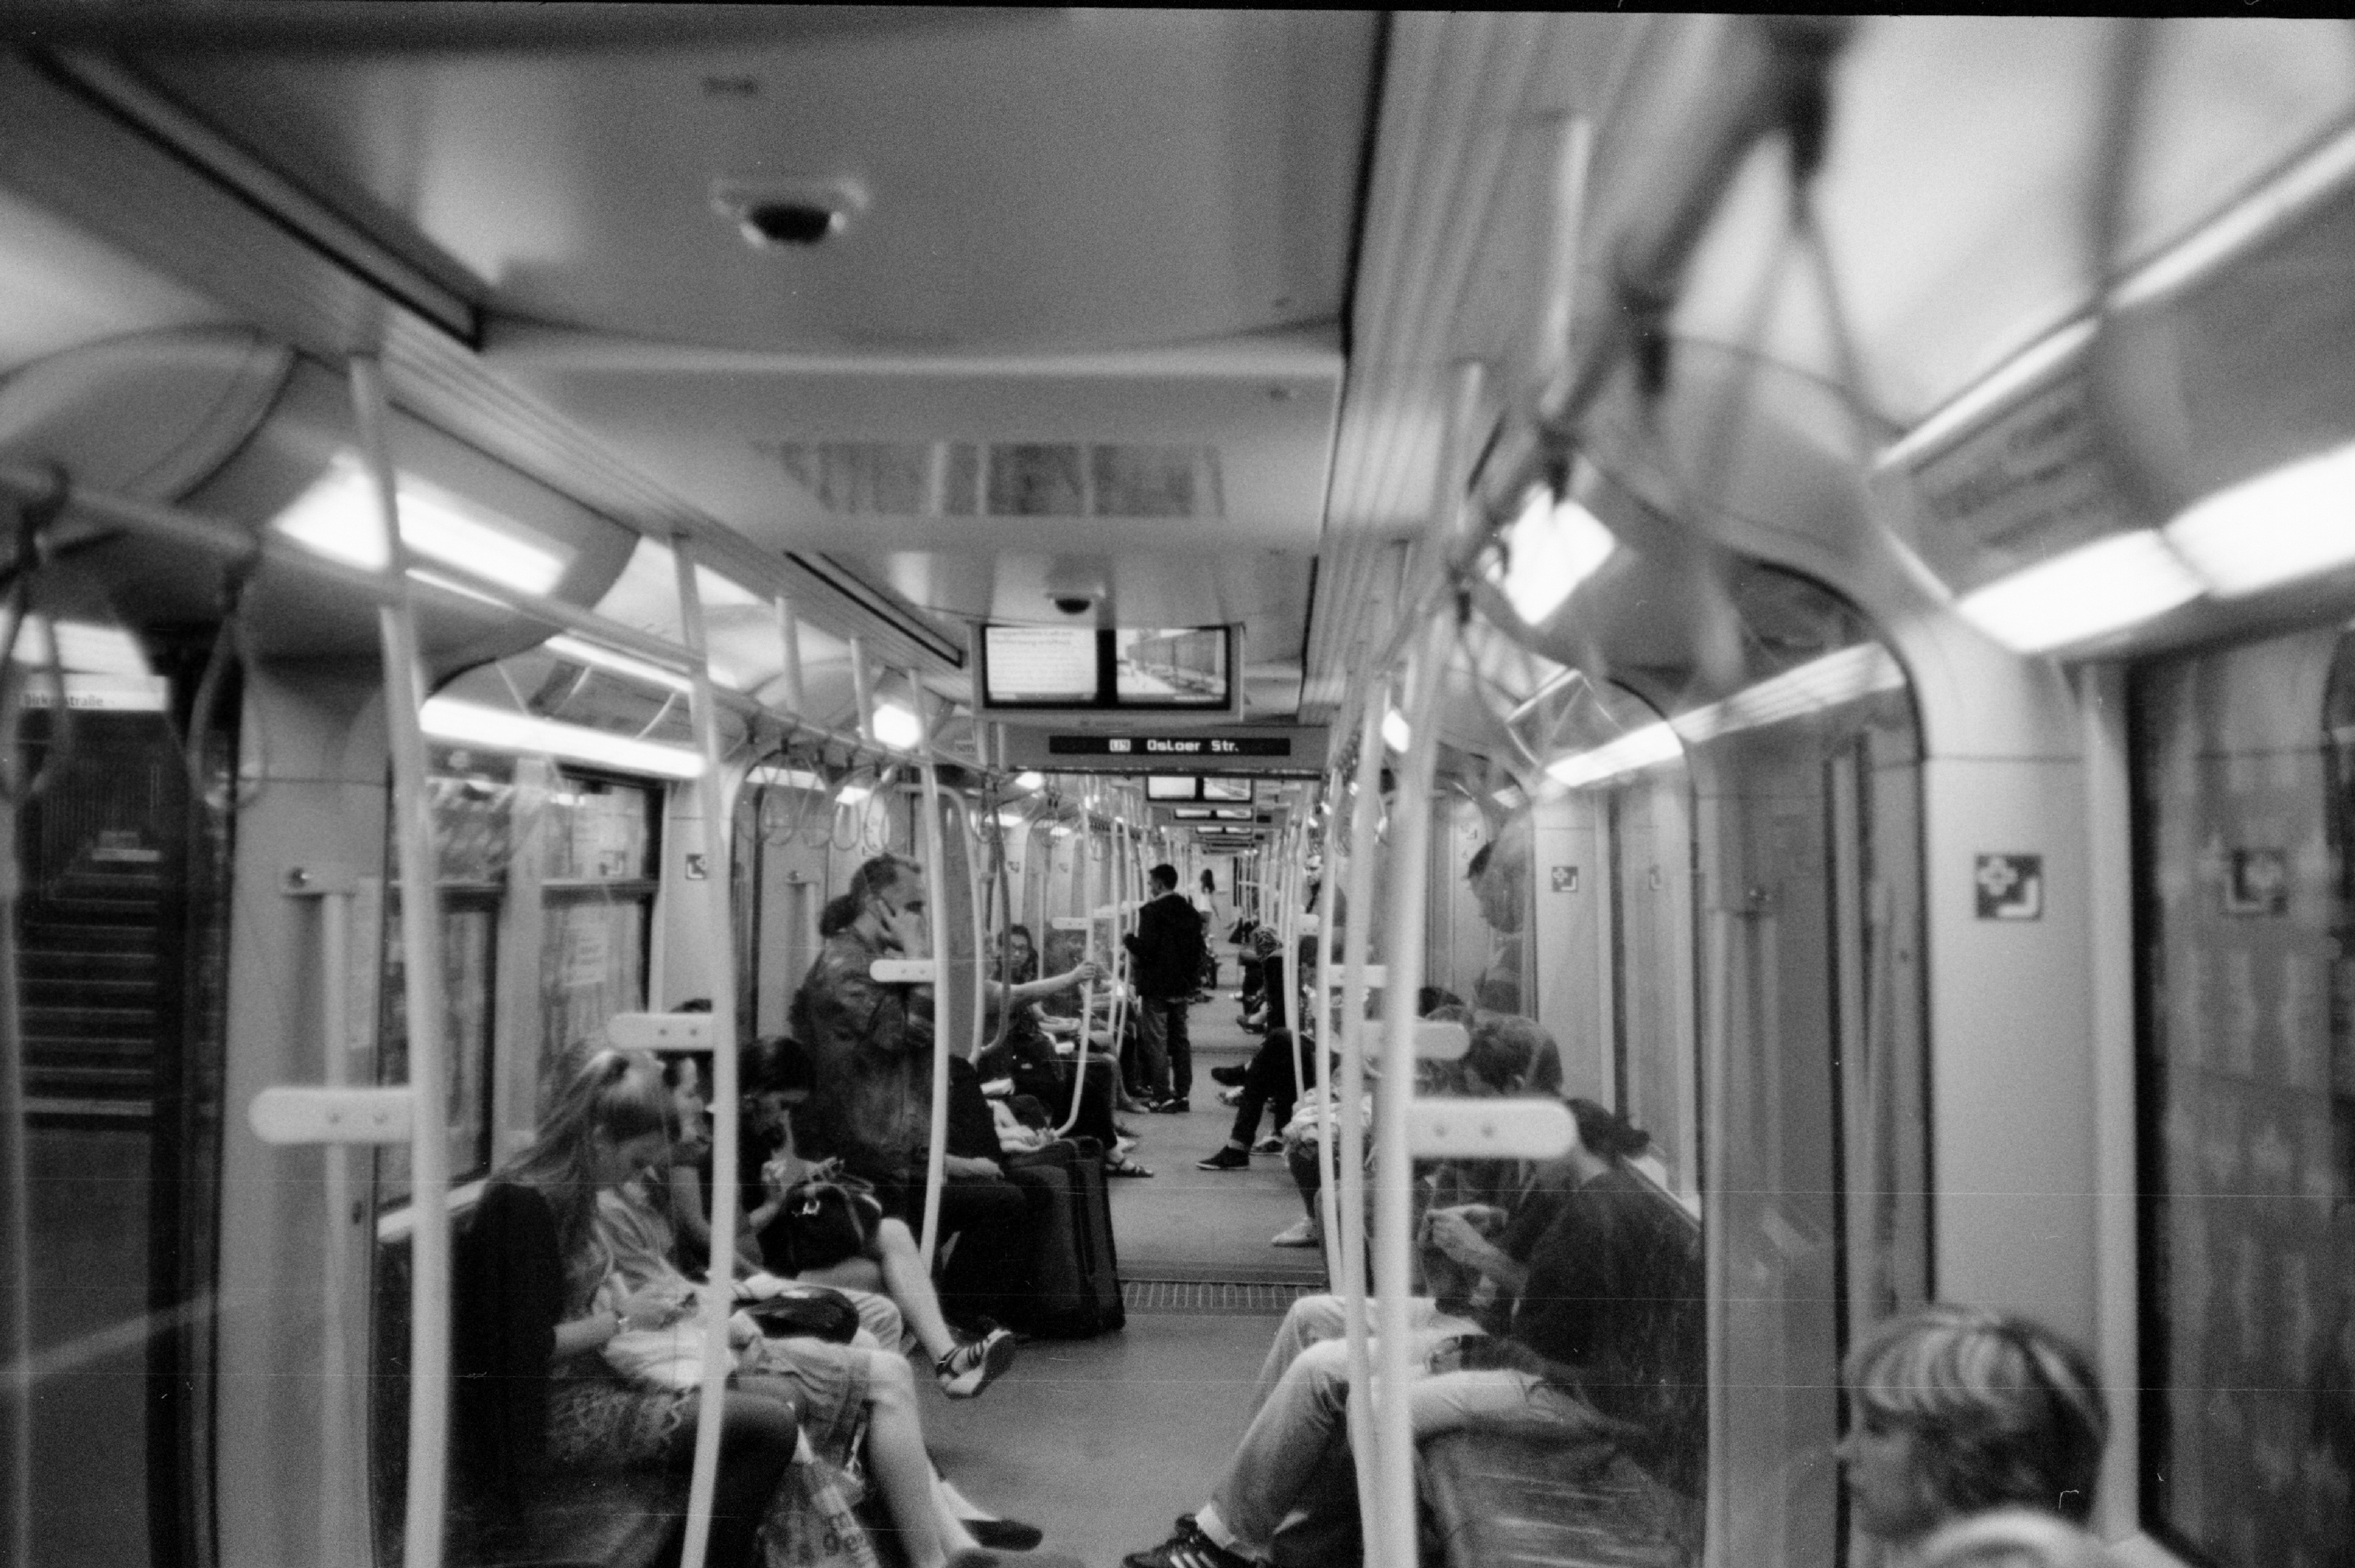
Pictures:
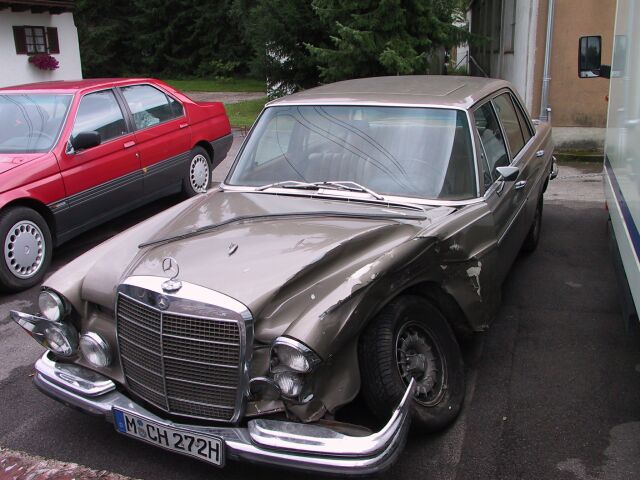
A personal note: Before I started to collect cameras, I was dreaming about collecting far pricier and bigger “products” from Stuttgart with an “S” in their name. Sadly the experiment did not end that well (result after six years of work below), which in long-term saved a lot of time and money. (My whole camera collection cost still less than one headlight for this car)

This reminds me that I have a Retina Reflex IV in my queue waiting for a test roll. I’ll bump it up to the front of the queue!
Do it, you won’t regret it. It is such a great camera.
Very good review. What kind of film would you recomend. I’m interested on B/W pictures. Great blog!
Thank you! For B/W I shoot Kodak Tri-X, fits for the camera. As the ISO/ASA range of the camera is quite wide for the time it was produced, you can even try to push it to 1600. For color I go for Fuji Superia 200 or 400. On the bottom of the post is a link to my flickr, all pictures are shot with those films
Hello…..
I have a Kodak Retina Reflex S that was my dads before he passed. It is in very good condition and used with care. I am trying to sell it along with other vintage KODAK photography accessories. Please advise as to what would be the best way to sell these. I would be able to provide photos of what I have. I also have vintage projectors , KODAK slide carousel , projection screen just to name a few. Finally I have a AKAI and TEAK reel to reel decks which are also in good working condition. Please reply at your earliest convenience. I greatly appreciate your time , ideas and or suggestions you may have. I can be reached at davesulsona@yahoo.com or text at 602-206-1315 I look forward to hearing from you. Thank You.
Dave Sulsona
Hi Dave, I am more of a buyer than a seller. I bought most of my cameras either on flea markets or in camera stores which still sell used cameras too. If there is something like this in your area, this would be my first choice. Of course there’s always eBay, there you can also get an idea for how much money you might be able to sell the camera. In which country do you live?