
-
- Someone took some time to invent and build camera cases. Use them
- Before removing a camera from your bag, check if everything is locked and in place
- If there’s a soft surface available, remove items from bags above it, not 10 cm next to it
- A Schneider Kreuznach 50mm f 2.8 cost nearly as much as Retina Reflex camera body with this lens
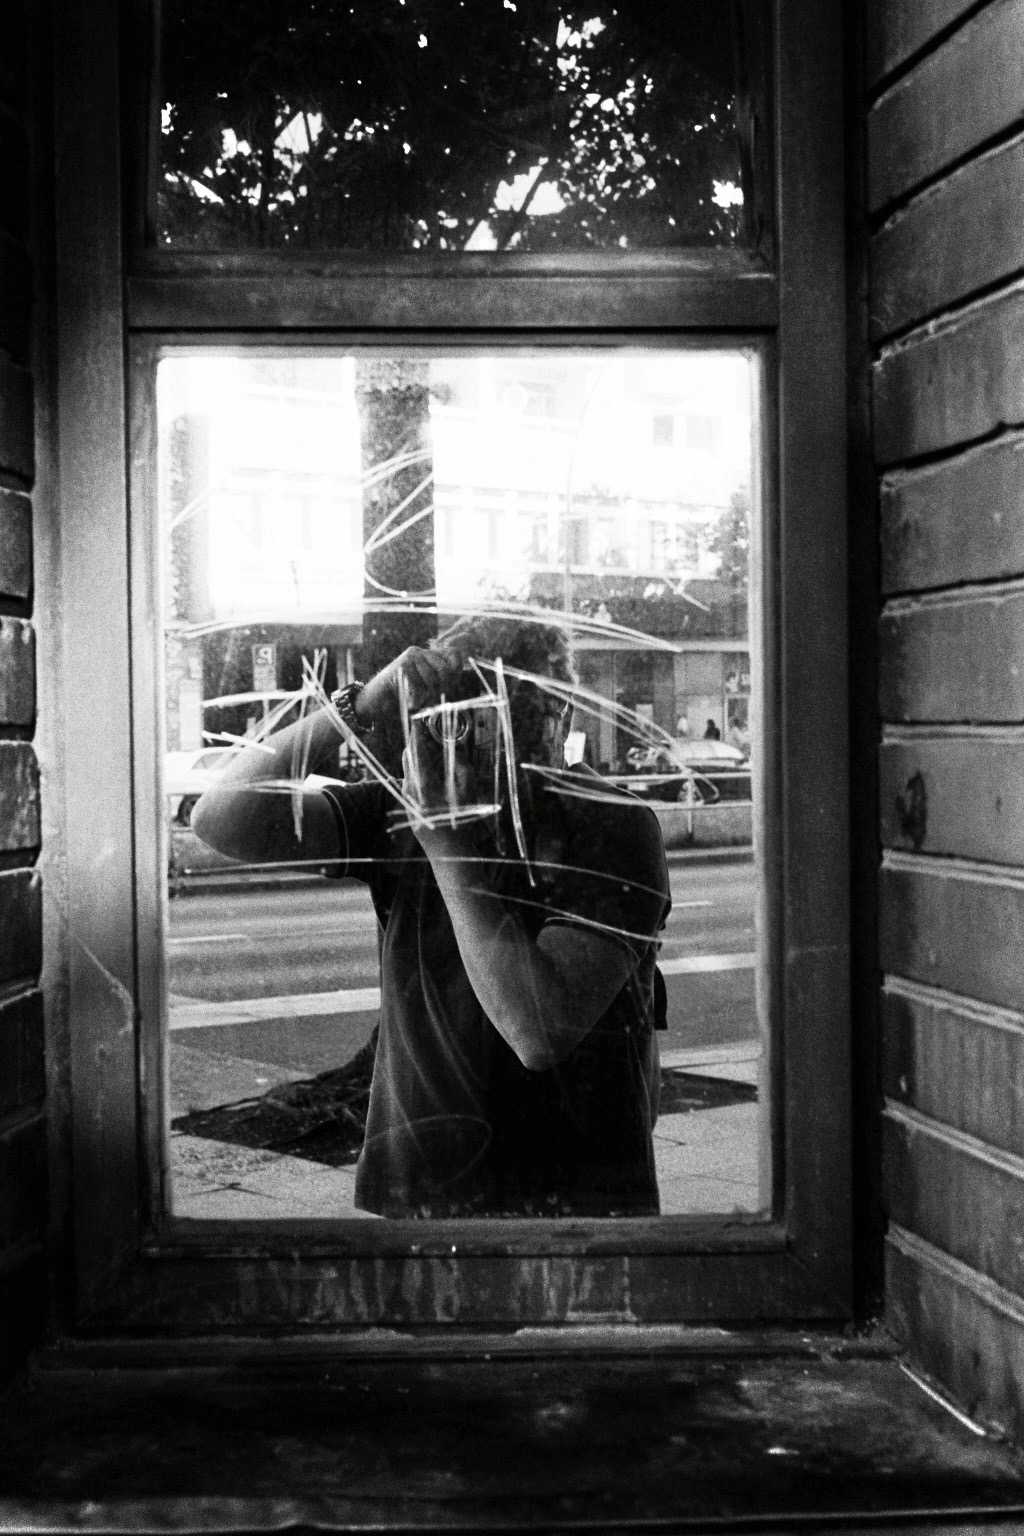
During a lunch break, I stumbled over a Kodak Retina Reflex IV at “Foto Objektiv” one of the few remaining photo stores in Berlin Kreuzberg for 85€ with the desired lens. A quick check of the camera, loaded with film, paid both, shot the first roll and well: it’s always good to have a second body for your lenses, isn’t it?
About the camera: As I wrote about the camera’s history already in my Retina Reflex S post earlier, I will focus here on the differences between the two cameras. The Retina Reflex IV was the last 35mm SLR produced by Kodak from 1965 to 1967, followed by the 126film model.
Like the Reflex S, the Reflex IV works fully manual, is equipped with a central shutter featuring a self-timer and speeds from “B” to 1/500, the coupled aperture/ speed dial, a tripod mount, an accessory shoe and the unusual rewind lever on the bottom. To the differences:
- The camera is far lighter, maybe due to the use of more plastic parts, for example, the aperture wheel
- The opening mechanism was simplified, from “turn the round lever to reveal the opening button then touch it” to “push the button protected by the small safety rim”
- The shutter release was moved to the front of the body, like on some other cameras of this era
- The frame counter is on the bottom of the camera, close to the advance lever.
- The “cold” accessory shoe evolved into a hot shoe so you can use any modern flashgun with this camera without a pc sync cable
- The rewind wheel was replaced by a rewind Kurbel
- The lightmeter’s reading is displayed in the viewfinder
- The speed and aperture settings can be viewed through the viewfinder as well
With the two latter changes, the camera can be used nearly like a “normal” SLR, so if you would like to give try the Retina Reflex series a try, this might be the easiest way.
Taking pictures: Open the camera with the small button next to the tripod mount. Load your film. Set the speed by simultaneously sliding the little button on the right back side of the top plate close to the DIN/ASA indicator on the top of the camera and turning the “setting wheel” under the lens. Unlike on the earlier Retinas, the counter is set automatically to the little ♦. If you use 24 exposure film, set the counter accordingly with the slider next to the counter. the correct number of exposures (24 / 36), rewind and release two times and you are ready to go.
The camera aperture/speed settings are a bit confusing, think of it like a mechanical program automatic with aided manual preset: Turn the setting wheel under the lens until the lightmeter’s needle is in in the middle of two arrows. There are two places to read the light meter: on the camera’s top on a little window or in the viewfinder, just like on the Yashica Electro 35 GT. Then select your desired speed/aperture combination by turning the dial around the lens.
To focus, use the ground glass viewfinder or the split image indicator. As you are focussing with a fully opened iris, you may use the depth of field indicators to see what will be in focus and what won’t. Release the shutter with the button on the front of the camera, which also holds the thread for a cable release. Until you cock the shutter and advance the film, the finder will stay black. As usual and widely criticized, the advance lever is under the camera. As I don’t use any of my film cameras except the Olympus PENs (EE-2 and EES-2) for rapid shooting, this does not bother me at all. For the rest of the process I quote my earlier post:
Film speeds are from 24 to 3200, the ƒ stops (depending on the lens) from 1.9 till 22 and the shutter speed ranges from B, 1s to 1/500 s. For long time exposure, you can use the green scale to remember the long times better, the camera operates there in “B” mode.To activate the self timer, press the little button on the right side of the lens while moving the little lever to the “V” position. This lever is also used to change the flash settings to “X” for electronic and “M” for old flash bulbs. Flash can be used at any speed…
For close ups, screw on on or more of the available close-up lenses. If you use filters, you have to compensate less light manually, as the camera obviously does not measure through the lens (TTL).


| Brand | Kodak |
| Camera | Kodak Retina Reflex IV |
| Year built | ?, model produced between 1964 and 1967 |
| Serial number | 79394 |
| Lens | Schneider – Kreuznach Retina-Xenar 1:2.8 / 50 mm 9261894 |
| Shutter | Synchro-Compur |
| Film format | 35mm |
| Special features | SLR with central shutter |
| Accessories | Case |
| Manufactured by | Kodak AG, Stuttgart, Germany |
| Date of purchase | 2017 |
| Price | 85 € |
| Place of purchase | Foto Objektiv, Berlin |
Tips & Tricks: First of all: take care of the camera. In all reviews, I found it is mentioned that these cameras are really hard to service or repair. In the worst case, Chris Sherlock does not only have some repair guides on his website http://retinarescue.com/ but also offers repair service for Retina cameras.
Film purchase & processing: The camera can use any 35 mm film from 10 to 3200 ISO. Try to shoot at least once with 100 ISO black and white to get an impression of the lenses’ sharpness.
Useful Links:
http://blog.jimgrey.net/2013/10/18/kodak-retina-reflex-iv/ (Jim Grey’s review Kodak Retina Reflex IV which I had in mind when I bought the camera)
http://retinarescue.com/retinareflex4type051.html (Repair guides and repair service)
http://www.mikeeckman.com/2017/06/kodak-retina-reflex-iv-1964/ (Mike Eckman likes the results you can achive with the retina, sadly the camera not so much)
http://www.butkus.org/chinon/kodak/kodak_retina_reflex_iv/kodak_retina_reflex_iv.htm (Manual on Mike Butkus’ vast archive)
Pictures:
My pictures on Flickr

I got rid of my Reflex IV some time ago but wouldn’t mind owning another now, one in good working order (unlike the one I owned). Their usage is nonstandard (to the current SLR idiom) but those lenses sure are nice.
Thanks for the review! I came across one of these but it was in horrible shape and I passed on it. Hopefully, I’ll get a chance at another in better shape. A nice camera.
Great review indeed, I have read the entire article. Being a newbie photographer definitely, I will try to buy this. This is just awesome, especially the picture quality is cool. Cheers!
You really have an amazing collection of cameras! I have a few of my dads which are pretty retro now, but nothing like your collection. I wonder what the collection would be worth (not that you would think of selling of course).
Thank you! I believe the worth of the collection is beneath waht I spent for it, (Ok except the crazy prices some people start to pay for an Olympus Trip 35) but all in all 600 € max